Let's Build: music card generator with Transloadit

Today's post is all about the step-by-step process of creating a Template to create a shareable music card that you can use to post your favorite songs on social media.
We'll be making use of the Robots listed below, before tying everything up for usage with a simple program using our Node SDK.

Our Template
The Template below may seem unwieldly, so I will break it down into more manageable chunks, and go through each piece individually.
Go ahead and save this Template in your Transloadit console, taking note of the Template ID for later use in this demonstration.
{
  "steps": {
    ":original": {
      "robot": "/upload/handle"
    },
    "import_bg": {
      "robot": "/http/import",
      "url": "https://i.imgur.com/RW6xMRh.jpg"
    },
    "waveformed": {
      "robot": "/audio/waveform",
      "use": ":original",
      "result": true,
      "width": 400,
      "height": 200,
      "background_color": "00000000",
      "outer_color": "292C36ff",
      "center_color": "292C36ff",
      "format": "image"
    },
    "add_waveform": {
      "use": {
        "steps": [
          {
            "name": "waveformed",
            "as": "watermark"
          },
          {
            "name": "import_bg",
            "as": "base"
          }
        ]
      },
      "robot": "/image/resize",
      "watermark_size": "80%",
      "watermark_y_offset": 500,
      "watermark_position": "center",
      "imagemagick_stack": "v3.0.0"
    },
    "resize_art": {
      "use": ":original",
      "height": 400,
      "width": 400,
      "resize_strategy": "fillcrop",
      "robot": "/image/resize",
      "imagemagick_stack": "v3.0.0"
    },
    "watermark": {
      "use": {
        "steps": [
          {
            "name": "resize_art",
            "as": "watermark"
          },
          {
            "name": "add_waveform",
            "as": "base"
          }
        ]
      },
      "robot": "/image/resize",
      "watermark_size": "60%",
      "watermark_y_offset": -200,
      "watermark_position": "center",
      "text": [
        {
          "text": "${fields.artist}",
          "size": 84,
          "font": "Ubuntu",
          "color": "#292C36",
          "valign": "bottom",
          "align": "center",
          "x_offset": 0,
          "y_offset": -250
        }
      ],
      "imagemagick_stack": "v3.0.0"
    },
    "merged": {
      "robot": "/video/merge",
      "preset": "hls-1080p",
      "width": "${file.width}",
      "height": "${file.height}",
      "use": {
        "steps": [
          {
            "name": ":original",
            "as": "audio"
          },
          {
            "name": "watermark",
            "as": "image"
          }
        ],
        "bundle_steps": true
      },
      "ffmpeg_stack": "v6.0.0"
    }
  }
}
Our background
First, we use the /http/import Robot to import the background of our sound card. It's just a simple two-tone frame with the Transloadit logo, on top of which we can layer our other elements.
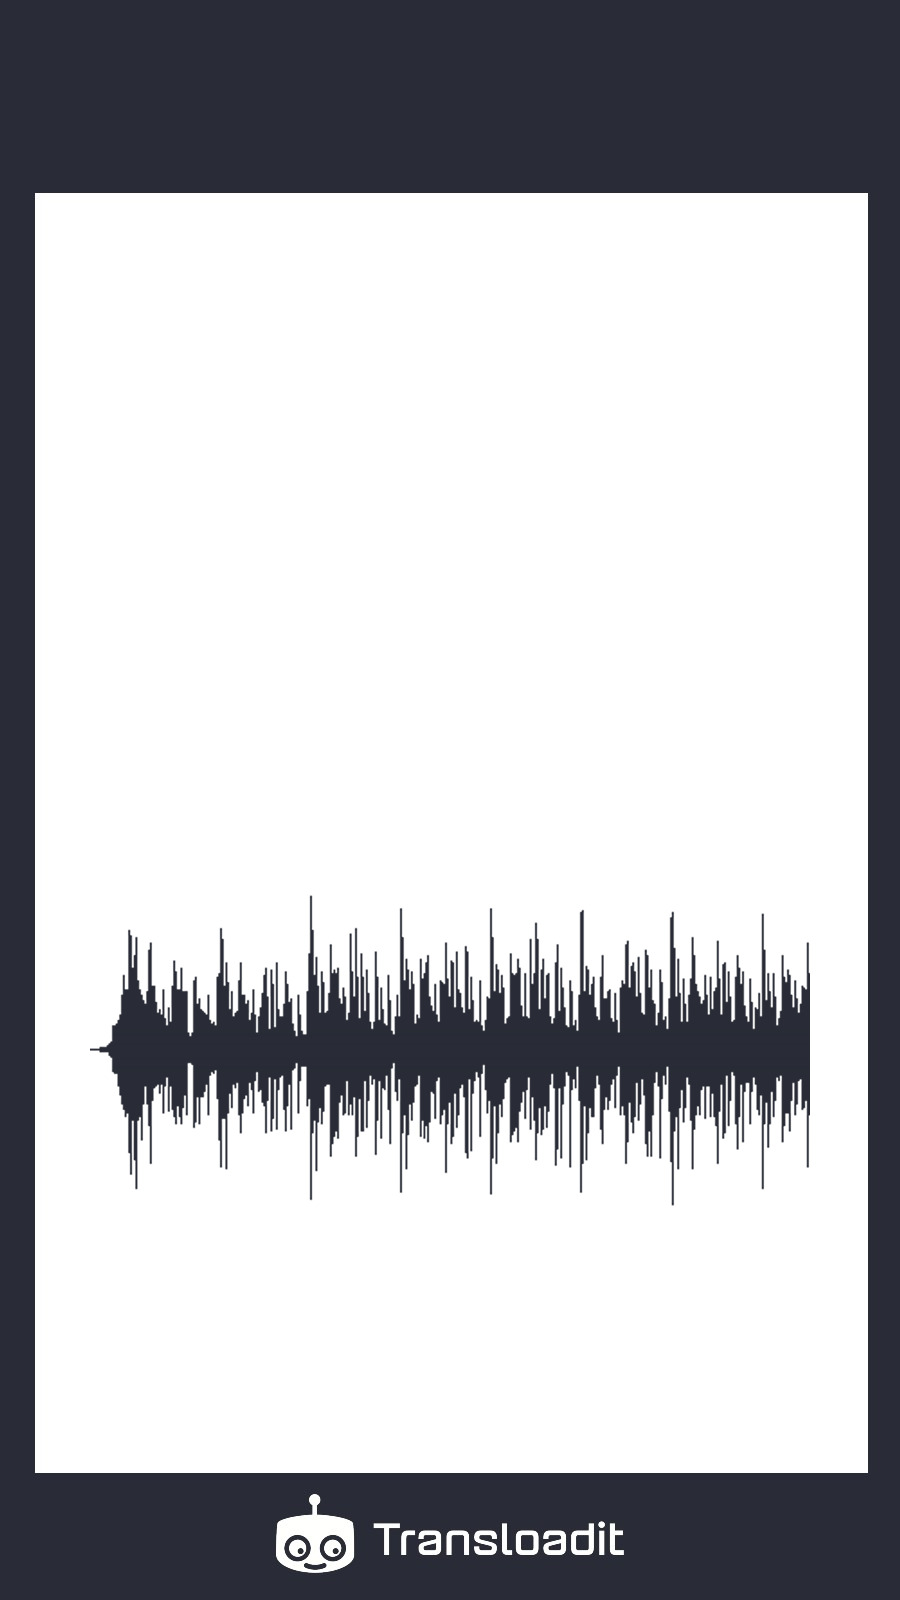
The waveform
Then, using our /audio/waveform and
/image/resize Robots, we create a waveform image with
a transparent background to then watermark it on top of our plain background. To position the
waveform where we want it on our Template, we utilize the watermark_y_offset and
watermark_position parameters.
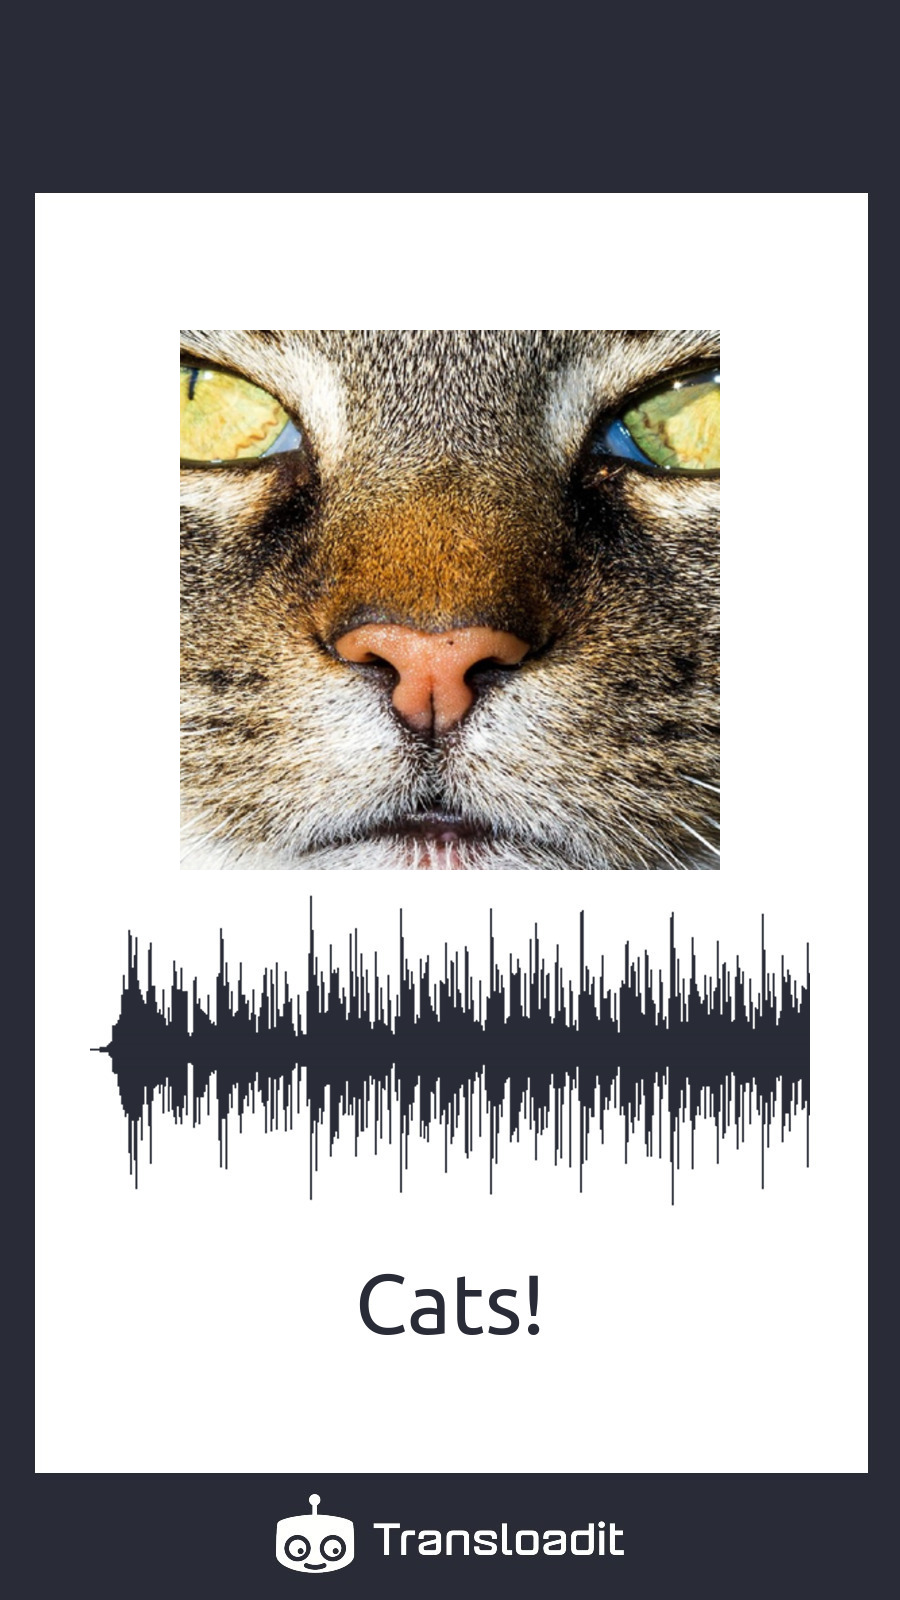
Adding the art and artist
It's now just a matter of resizing the artwork we uploaded and watermarking it on top of the previous Step's result. We'll also include some text with the artist's name at the bottom of the card. We achieve this using text watermarking, along with a form field value.
We employ the fillcrop strategy to ensure that the art fills the desired square on our sound card.
Again, the watermark_y_offset and y_offset parameters come in handy, ensuring that
everything is properly positioned on our card.
Merging with the music
Our final Step will use the /video/merge
Robot to combine our still frame with music to make a playable video. We'll use
Assembly Variables for the height and width parameters to ensure that the dimensions
of the video are consistent with the original image.
Code
With the Template explained, let's now create an Assembly using the program below, while making sure we have an input image and audio file in our working directory:
// yarn add transloadit@3
const Transloadit = require('transloadit')

// eslint-disable-next-line import/newline-after-import
;(async () => {
  const transloadit = new Transloadit({
    authKey: process.env.TRANSLOADIT_AUTH_KEY,
    authSecret: process.env.TRANSLOADIT_SECRET_KEY,
  })

  const assemblyStatus = await transloadit.createAssembly({
    waitForCompletion: true,
    files: {
      file1: process.env.ARTWORK,
      file2: process.env.MUSIC,
    },
    params: {
      template_id: 'YOUR_TEMPLATE_ID',
      fields: { artist: process.env.ARTIST },
    },
  })

  console.log(`Here is your final result: ${assemblyStatus.results.merged[0].ssl_url}`)
})().catch((err) => {
  console.log(err)
  process.exit(1)
})
To run the script, use the following commands:
# I got these credentials from: https://transloadit.com/c/my-app/template-credentials
export TRANSLOADIT_AUTH_KEY=****
export TRANSLOADIT_SECRET_KEY=*******
export ARTIST=Cats!
export ARTWORK=./cat.jpg
export MUSIC=./sample.mp3

node music-card.js
After a few seconds, it outputs:
Here is your final result: YOUR_RESULT_URL
And sure enough, if we open our result URL, you'll see the following result:
Wrapping things up
That's all there is to it! I hope you had a good time and learned a few things along the way. If you have any questions, please contact us via support; we'll be happy to assist you. Also, keep an eye out for future Let's Build editions, where we'll continue to release projects like this one 😉